
Compress Images
Open Tools → Compress Images to reduce the file size of existing PNG and JPEG images. Add individual files, folders, or a path list, choose an output location and compression level, then process the selected images in the background.
Demo: higher resolution, smaller file
The compressed image below is the higher-quality, higher-resolution version—and its file is 38% smaller than the original lower-resolution image. We re-exported the Illustrator artwork at 144 DPI, then used Standard: 50 compression. The result contains 56% more pixels while taking less space.
Higher-resolution image. 38% smaller file.
In this example, the compressed image is the higher-quality, higher-resolution export: 1800 × 1200 pixels at 25.6 KB, compared with the original lower-resolution image at 1440 × 960 pixels and 41.4 KB.
Lower resolution · 41.4 KB
Higher resolution · 25.6 KB
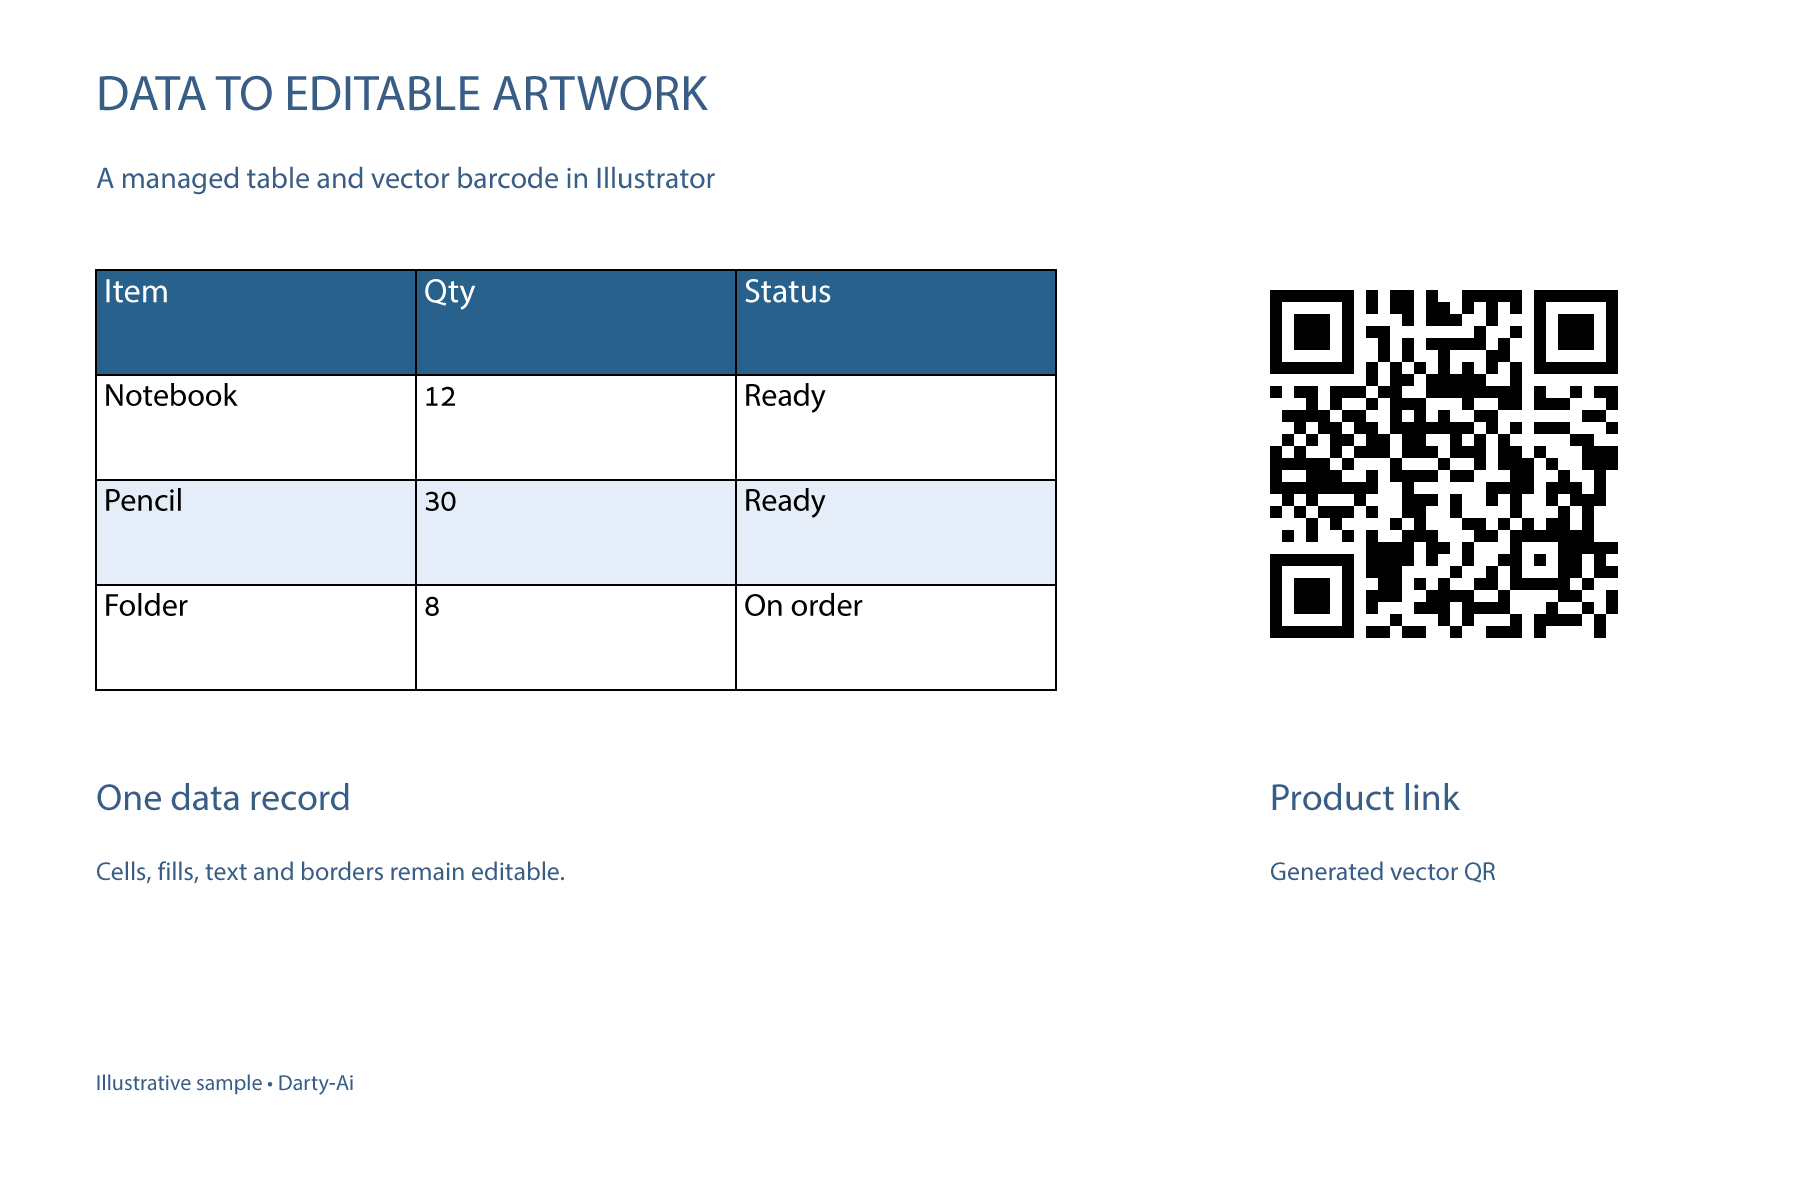
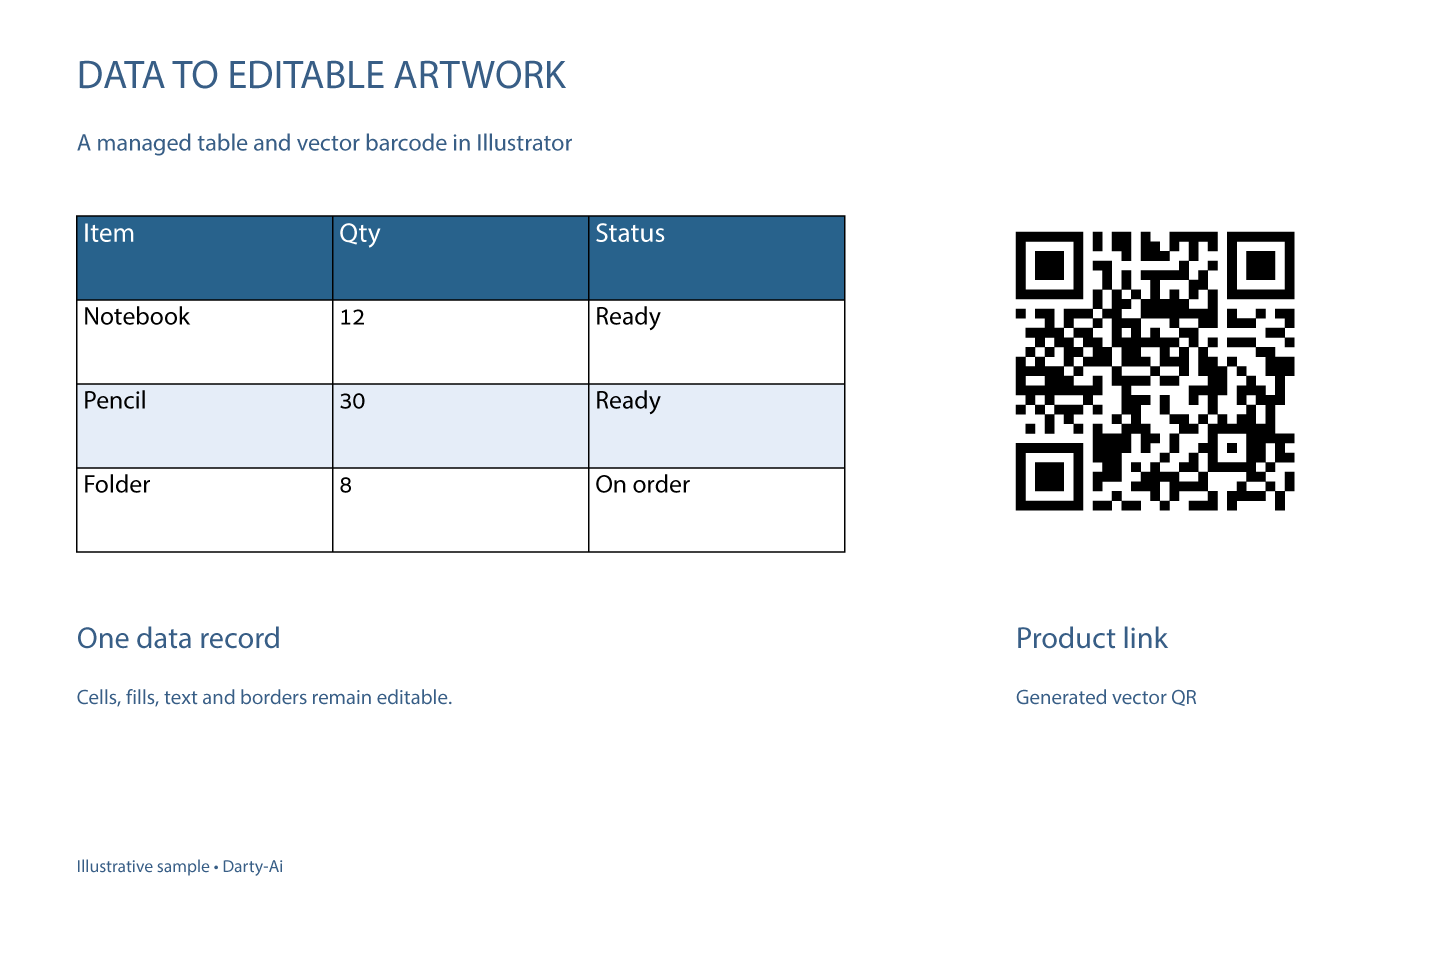
Move the slider, or focus it and use the arrow keys. Both images are shown at the same display size. Full-size view shows the 1800-pixel image at one image pixel per CSS pixel and enlarges the original to match.
The added detail comes from re-exporting the vector artwork at 144 DPI; compression keeps that resolution while reducing the file size. It does not create detail in a low-resolution image. This measured 38% saving is specific to these two files, rather than a guaranteed result for every image.
| Version | Pixel dimensions | Before compression | After Standard: 50 |
|---|---|---|---|
| Original lower-resolution export | 1440 × 960 | 41.4 KB | 20.4 KB |
| New 144-DPI export | 1800 × 1200 | 79.4 KB | 25.6 KB |
The demo compares the 41.4 KB original with the 25.6 KB compressed higher-resolution export. Compressing the new export alone saved 68% of its 79.4 KB starting size. The compressed higher-resolution version is only 5.2 KB larger than compressing the original at the same setting.
Both exports use a solid white background and Illustrator's PNG24 export with anti-aliasing. Compression used Standard: 50 with Strip metadata off. Sizes use 1 KB = 1,000 bytes. The compressed 144-DPI image retained its pixel dimensions; its QR code decoded to the same URL after compression.
Compress a group of images
- Add PNG/JPEG files or folders, drag them into the tool, or import a TXT, CSV, TSV, or XLSX path list.
- Use the search and extension filters to find images, then check the files or folders to include.
- Choose Standard: 50, High: 30, or Heavy: 10. Standard is a useful starting point; lower quality numbers apply stronger compression.
- Choose the output folder and naming. The default adds
-compressedto the filename. The output preview shows the destination for each image. - Select Compress selected images. Keep Illustrator open until the background processing finishes.
- Review the results for each file, including its destination, saved size, percentage saving, and any skipped or failed items. Use the folder icon to reveal the output in Finder or Explorer.
Output and metadata
Use a suffix, prefix, or different output folder to keep the source files. Replace originals writes back to the selected files; these disk changes cannot be undone with Illustrator Undo. Existing output files can also be overwritten, so check the preview before starting.
Strip metadata removes descriptive metadata and supported thumbnails. Leave it off when those details should travel with the images. Compression preserves pixel dimensions; export at the desired resolution before compressing. Changing a file's DPI metadata alone does not add pixels or detail.
Files are processed individually. A file that is already efficiently encoded may have little or no saving. Inspect fine text, gradients, and transparent edges when choosing a stronger compression level. Cancel stops queued work; the currently running image finishes.
For output generated directly from records, see Export settings. To prepare the methods and records first, use Sheet Builder.